Lower back pain can disrupt everything from your workday in Roscoe Village to a weekend walk along the lakefront. It is a common frustration for many in Chicago, but finding lasting relief is achievable. The right movements can not only soothe current discomfort but also build the core strength and spinal stability needed to prevent future flare-ups. This guide, from your local team at Pure Motion Chiropractic, provides a detailed look at the best exercises for lower back pain, curated with a professional, educational, and reassuring focus.
You will find clear, step-by-step instructions for foundational movements designed to gently mobilize your spine, activate deep core muscles, and stretch tight areas that contribute to strain. We will cover progressions for when you feel stronger and regressions for days when you need a gentler approach. Specific safety cautions, including notes for pregnancy and sciatica, are included to help you move with confidence.
However, it is crucial to understand that self-diagnosis and treatment can be risky. While these exercises are foundational, your pain is unique. At Pure Motion Chiropractic, we see patients from Lakeview, North Center, and across Chicago who need personalized care plans. Before starting any new routine, especially if you have severe, persistent, or radiating pain, consulting a professional is the safest first step. This article serves as your educational resource, designed to empower you with knowledge. A personalized assessment with our team ensures your path to recovery is both safe and effective, tailored specifically to your body's needs.
1. Cat-Cow Stretch (Marjaryasana-Bitilasana)
The Cat-Cow stretch is a foundational mobility exercise renowned for its gentle yet powerful effect on the spine. Performed on hands and knees, this movement guides your spine through its full range of flexion (rounding like a cat) and extension (arching like a cow). This dynamic flow is one of the best exercises for lower back pain because it awakens the muscles supporting the spine, improves circulation to the spinal discs, and alleviates tension built up from static postures.
For many of our patients in Roscoe Village, especially office workers and those who spend hours at a desk, the Cat-Cow provides immediate relief by reversing the prolonged spinal flexion common in seated positions. It’s a simple, approachable way to introduce gentle movement and restore natural spinal curvature.
How to Perform the Cat-Cow Stretch
Follow these steps for proper form and maximum benefit:
- Starting Position: Begin on your hands and knees in a "tabletop" position. Ensure your wrists are directly under your shoulders and your knees are directly under your hips. Your back should be flat and your neck in a neutral position, looking down at the floor.
- Cow Pose (Inhale): As you inhale, slowly drop your belly towards the floor. Lift your chest and chin, tilting your pelvis up to create a gentle arch in your back. Avoid putting pressure on your neck by looking straight ahead or slightly up, not craning it backward.
- Cat Pose (Exhale): As you exhale, round your spine upward toward the ceiling, tucking your chin to your chest and your tailbone under. Gently press your hands into the mat to feel a stretch across your shoulder blades and middle back.
- Flow: Continue flowing smoothly between Cat and Cow, coordinating each movement with your breath.
Key Insight: The power of Cat-Cow lies in its connection to breath. Inhaling during the "Cow" pose helps expand the chest and abdomen, while exhaling during the "Cat" pose helps engage the core and deepen the spinal stretch.
Tips for Success and Modifications
- Move Deliberately: Avoid rushing. Spend 2-3 seconds in each position to allow your muscles to respond.
- Frequency: Perform 10-15 repetitions, 1-2 times daily, especially in the morning to relieve stiffness or during work breaks.
- Pregnancy Modification: For prenatal patients, we recommend reducing the depth of the "Cow" arch to avoid overstretching the abdominal muscles. Focus more on the gentle rounding of the "Cat" pose to relieve lower back pressure.
- Wrist Sensitivity: If you experience wrist pain, you can perform this exercise on your fists or forearms.
The Cat-Cow is more than just a stretch; it's a diagnostic tool that helps you become more aware of your body's stiffness and mobility. At Pure Motion Chiropractic, we often recommend this movement as part of a post-adjustment routine to maintain the mobility gains achieved during a session.
2. Quadruped Bird Dog (Opposite Arm-Leg Raises)
The Bird Dog is a fundamental core stabilization exercise that builds strength in the deep muscles supporting the lumbar spine. Performed from a hands-and-knees position, this movement involves extending an opposite arm and leg while maintaining a perfectly stable torso. This controlled motion is one of the best exercises for lower back pain because it directly trains the transverse abdominis and multifidus muscles to act as a natural corset, protecting your spine from stressful or sudden movements.
For our patients at Pure Motion Chiropractic, from dedicated athletes to remote workers in the Chicago area, the Bird Dog is an essential part of building a resilient back. It teaches the body to maintain a neutral spine during limb movement—a critical skill for preventing reinjury and supporting proper posture throughout daily activities.

How to Perform the Bird Dog
Follow these steps to ensure proper form and activate the correct muscles:
- Starting Position: Begin on your hands and knees in a "tabletop" position, just like the Cat-Cow. Align your wrists under your shoulders and knees under your hips. Engage your core by gently drawing your navel toward your spine.
- Extend: Simultaneously lift and extend your right arm straight forward and your left leg straight back. Keep both parallel to the floor. Imagine your body is a rigid tabletop; don't let a glass of water spill off your lower back.
- Hold and Stabilize: Hold this extended position for 2-3 seconds, focusing on keeping your hips and shoulders square to the floor. Avoid arching your lower back or rotating your pelvis. Your gaze should remain on the floor to keep your neck in line with your spine.
- Return and Repeat: Slowly and with control, lower your arm and leg back to the starting position. Repeat on the other side by extending your left arm and right leg. This completes one repetition.
Key Insight: The goal of the Bird Dog is not height but stability. The focus should be on preventing any rocking, sagging, or twisting in your torso. Less is more; a smaller, controlled movement is far more effective than a large, sloppy one.
Tips for Success and Modifications
- Focus on Form: Place a foam roller or a water bottle along your lower back to get instant feedback on your stability. If it falls, you are likely rotating your hips.
- Frequency: Aim for 8-12 repetitions per side. Complete 2-3 sets, resting 30 seconds between them. Perform this 3-4 times per week to build strength.
- Sciatica Note: If extending the leg aggravates sciatic pain, start by only extending the arm. As your core strength improves, you can progress to lifting the leg just an inch or two off the floor before building up to a full extension.
- Progression: Once you've mastered the basic movement, challenge your stability by adding 1-2 second pauses or incorporating light ankle/wrist weights.
The Bird Dog is a cornerstone of spinal rehabilitation and performance training. At Pure Motion Chiropractic, we frequently prescribe it after an adjustment to help patients stabilize their corrected spinal segments and build the core foundation needed for lasting relief.
3. Glute Bridge (Single and Double-Leg Variations)
The Glute Bridge is a foundational strengthening exercise that directly addresses a common root cause of lower back pain: weak gluteal muscles. When your glutes aren't strong enough to perform their primary function of hip extension, the smaller muscles of the lumbar spine are forced to compensate, leading to overuse, strain, and chronic pain. By isolating and activating the gluteus maximus and medius, the bridge restores proper muscular coordination between the hips and the lower back.
This movement is essential for our patients in Roscoe Village, especially those with sedentary jobs who often develop underactive glutes. Regularly performing glute bridges helps re-engage these crucial muscles, building a stronger foundation that supports the spine and reduces its workload. It's a simple yet powerful exercise for building stability from the ground up.

How to Perform the Glute Bridge
Follow these steps to ensure you're activating the right muscles and protecting your back:
- Starting Position: Lie on your back with your knees bent and feet flat on the floor, about hip-width apart. Your feet should be close enough that you can just graze your heels with your fingertips. Rest your arms at your sides with palms facing down.
- Lift (Engage): Squeeze your glutes and press through your heels to lift your hips off the floor. Raise them until your body forms a straight line from your shoulders to your knees. Avoid arching your lower back; the work should come from your hips and glutes.
- Hold and Squeeze: Pause at the top for 1-2 seconds, focusing on a maximal glute contraction. Keep your core engaged to maintain a stable, straight line.
- Lower: Slowly and with control, lower your hips back down to the starting position.
Key Insight: The most important part of the glute bridge is the conscious squeeze at the top. This strong contraction builds the mind-muscle connection, teaching your brain to fire the glutes effectively during daily movements like walking, climbing stairs, and lifting.
Tips for Success and Modifications
- Heel Pressure: Keep your weight in your heels to maximize glute activation and prevent your hamstrings from taking over.
- Frequency: For strength and activation, aim for 2-3 sets of 12-15 repetitions, performing the exercise 3-4 times per week.
- Postpartum Focus: The glute bridge is a safe and effective exercise for postpartum patients to rebuild core and pelvic floor stability. It helps restore the muscular support system weakened during pregnancy and childbirth.
- Single-Leg Progression: Once you can comfortably perform 15 double-leg bridges with perfect form, you can progress to the single-leg variation. Keep one knee bent towards your chest while you lift and lower with the other leg. This significantly increases the stability challenge.
The Glute Bridge is a cornerstone of lower back rehabilitation because it corrects a fundamental muscular imbalance. At Pure Motion Chiropractic, we incorporate glute activation exercises like this into personalized care plans to provide our patients with lasting relief and a more resilient spine.
4. Prone Back Extension (Cobra or Superman Variations)
The Prone Back Extension, often performed as a gentle Cobra or a more challenging Superman, is a crucial strengthening exercise for the posterior chain. This movement directly targets the erector spinae and multifidus muscles, which run along the spine and are essential for stability and maintaining an upright posture. It is one of the best exercises for lower back pain because it builds endurance in the muscles that counteract the forward-flexed posture so common in modern life.
For many of our patients in Chicago, from Logan Square remote workers to downtown office professionals, prolonged sitting weakens these vital back extensors. Prone Back Extensions safely re-engage and strengthen them, providing a direct antidote to the slump that contributes to chronic lower back pain and fatigue. It's a foundational movement we use at Pure Motion Chiropractic to help patients rebuild posterior chain strength after disc-related issues or acute lower back strain.
How to Perform a Prone Back Extension
Follow these steps, starting with the beginner Cobra and progressing as you gain strength:
- Starting Position: Lie face down on a mat with your legs extended straight behind you and the tops of your feet on the floor. Place your hands on the floor under your shoulders, similar to a push-up position, but keep your elbows tucked in close to your body.
- Cobra Pose (Beginner): Inhale and gently press through your hands to lift your head, chest, and shoulders off the floor. Keep your hips and pelvis on the ground. Aim to use your back muscles to initiate the lift, with your hands providing only light support. Hold for 2-3 seconds.
- Return to Start: Exhale as you slowly lower your upper body back to the mat in a controlled manner.
- Superman Variation (Advanced): Lie face down with your arms extended in front of you. As you inhale, simultaneously lift your arms, chest, and legs off the floor, keeping your neck in line with your spine. Hold briefly before exhaling and lowering back down.
Key Insight: The goal is control, not height. A small, controlled lift that engages the correct muscles is far more effective and safer than trying to hyperextend your back to lift as high as possible.
Tips for Success and Modifications
- Engage Your Glutes: Squeeze your glutes before and during the lift to help stabilize your pelvis and protect your lower back.
- Frequency: Perform 10-12 repetitions for 2-3 sets, 3-4 times per week. Combine with anterior core work like planks for balanced spinal stability.
- Sciatica Consideration: If you have sciatica, start with a very small range of motion. If this extension movement aggravates your symptoms, stop immediately and consult with a professional.
- Pain-Free Range: Only lift to a height that is completely pain-free. If you feel any sharp or pinching sensation in your lower back, reduce the range of motion or stop the exercise.
The Prone Back Extension is an excellent way to build the muscular support your spine needs for long-term health. At Pure Motion Chiropractic, we guide patients through proper form to ensure they are strengthening their back, not straining it, as part of a complete rehabilitation plan.
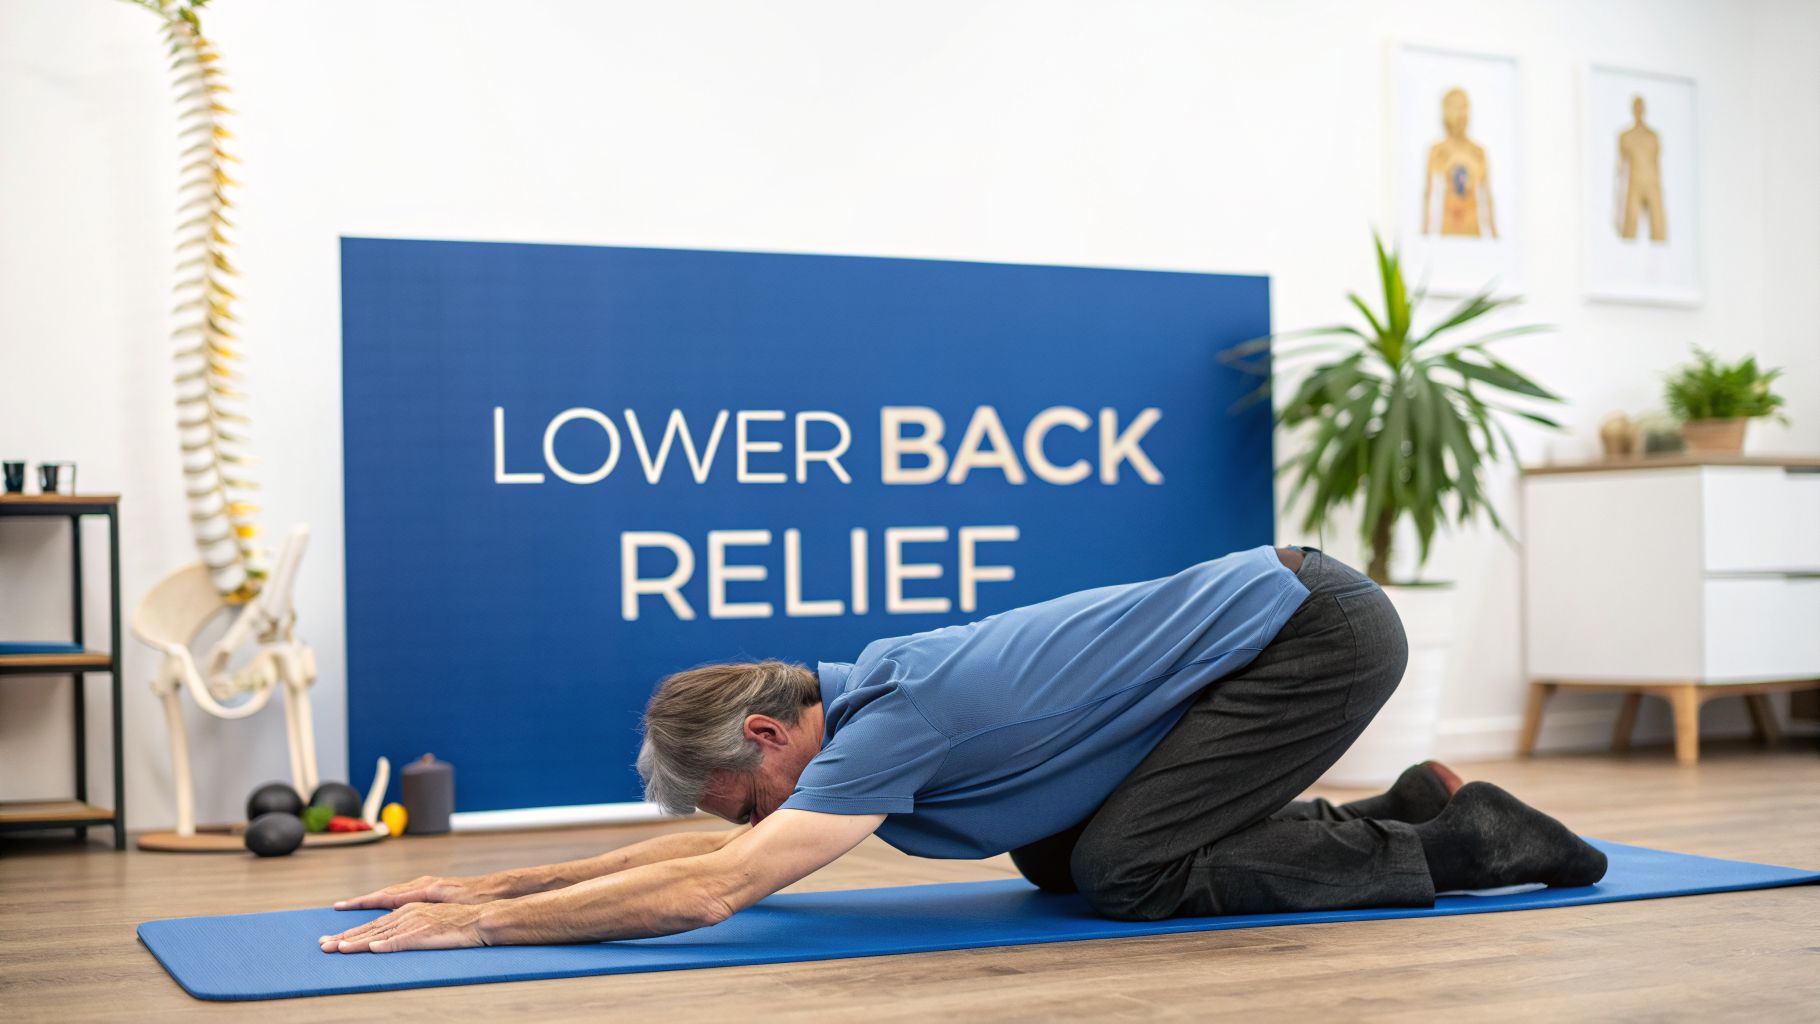
5. Child's Pose (Balasana) – Supported Spinal Flexion Stretch
Child's Pose is a universally recognized restorative pose that offers a gentle, passive stretch to the entire back of the body. By kneeling and folding forward, you allow gravity to gently lengthen the spinal extensors, glutes, and even the latissimus dorsi muscles in the mid-back. This pose is one of the best exercises for lower back pain because it provides mild decompression to the lumbar vertebrae and encourages the nervous system to shift into a state of rest and recovery.
For our patients in Chicago, from Lincoln Square yogis to office workers seeking a midday reset, Child's Pose is an essential tool. It effectively counteracts the stress of prolonged standing or sitting, which often leads to a compressed and stiff lower back. We frequently recommend it as a post-adjustment movement to help the body integrate the benefits of a chiropractic treatment.
How to Perform Child's Pose
Follow these steps for proper form and maximum benefit:
- Starting Position: Begin on your hands and knees in a "tabletop" position. Bring your big toes to touch and widen your knees slightly, about hip-width apart or wider for more comfort.
- Fold Forward (Exhale): As you exhale, slowly sit your hips back towards your heels. Walk your hands forward and lower your torso down between your thighs.
- Rest and Settle: Rest your forehead gently on the floor. Extend your arms forward with palms down, or bring them back alongside your body with palms facing up, whichever feels more comfortable for your shoulders.
- Breathe: Allow your body to feel heavy and sink into the support of the floor. Breathe deeply into your back, feeling the rib cage expand with each inhale and soften with each exhale.
Key Insight: The true benefit of Child's Pose comes from surrender. Instead of actively pulling or forcing a stretch, the goal is to release tension and let gravity do the work. Deep, diaphragmatic breathing is crucial for this process, as it signals the parasympathetic nervous system to relax.
Tips for Success and Modifications
- Hold and Breathe: Remain in the pose for 30-60 seconds, or even longer, focusing on deep, restorative breaths.
- Frequency: Perform 2-3 times daily, especially after long periods of sitting or at the end of the day to unwind.
- Add Support: If your forehead doesn't comfortably reach the floor, place a folded blanket or a block underneath it. A cushion or bolster placed under your torso can also provide added support and comfort.
- Pregnancy Modification: Prenatal patients should widen their knees significantly to create ample space for the belly. This modification makes it a safe and effective stretch for relieving pregnancy-related lower back pain.
- Ankle Discomfort: If you feel pressure on your ankles, place a rolled-up towel or blanket under them for cushioning.
At Pure Motion Chiropractic, we see Child's Pose as more than just a stretch; it's a mindful practice for reconnecting with your body and releasing accumulated tension. It’s a foundational movement for anyone looking to build a healthier, more resilient back.
6. Dead Bug (Supine Transverse Abdominis Activation)
The Dead Bug exercise is a fundamental core stabilization movement that builds a strong foundation for a pain-free back. Performed while lying on your back, it teaches your body to activate the deep core muscles, specifically the transverse abdominis, without putting any load on the spine. This makes it one of the best exercises for lower back pain, as it improves lumbar stability and control from the inside out, addressing the root cause of many back issues.

We often recommend the Dead Bug to our postpartum patients at Pure Motion Chiropractic who are rebuilding core function safely, as well as those with acute back strain. It’s an excellent starting point because it isolates the core and teaches proper muscle recruitment patterns before progressing to more demanding exercises.
How to Perform the Dead Bug
Follow these steps to ensure you are engaging the correct muscles and protecting your spine:
- Starting Position: Lie on your back with your knees bent and feet flat on the floor. Raise your legs so your shins are parallel to the floor, creating a 90-degree angle at your hips and knees (the "tabletop" position). Extend your arms straight up toward the ceiling, directly over your shoulders.
- Engage Your Core: Gently press your lower back into the floor to close any gap between your back and the mat. This action engages your deep abdominal muscles.
- Movement: Exhale as you slowly lower your opposite arm and opposite leg toward the floor. Move with control, going only as low as you can while keeping your lower back pressed firmly against the mat.
- Return to Start: Inhale as you bring your arm and leg back to the starting tabletop position. Repeat the movement on the other side.
Key Insight: The primary goal is stability, not speed or range of motion. If your lower back arches off the floor, you've gone too far. The effectiveness of the Dead Bug comes from maintaining a stable, neutral spine throughout the entire movement.
Tips for Success and Modifications
- Maintain Contact: The most critical part of this exercise is keeping your lower back connected to the floor. This contact confirms that your deep core is working correctly.
- Move Slowly: Take 2-3 seconds to lower your arm and leg and another 2-3 seconds to return. Deliberate movement maximizes neural recruitment and muscle control.
- Beginner Modification: If the full movement is too challenging, start by only lowering one leg at a time while keeping your arms still. Or, keep your feet on the floor and practice simply lowering one bent leg at a time (a heel tap).
- Frequency: Aim for 8-10 repetitions per side. Complete 2-3 sets, performing the exercise 3-4 times per week to build foundational core endurance.
The Dead Bug is a safe and highly effective way to build the core stability needed to protect your lumbar spine from daily stressors. At Pure Motion Chiropractic, we use it to help patients in Roscoe Village retrain their core and create lasting resilience against back pain.
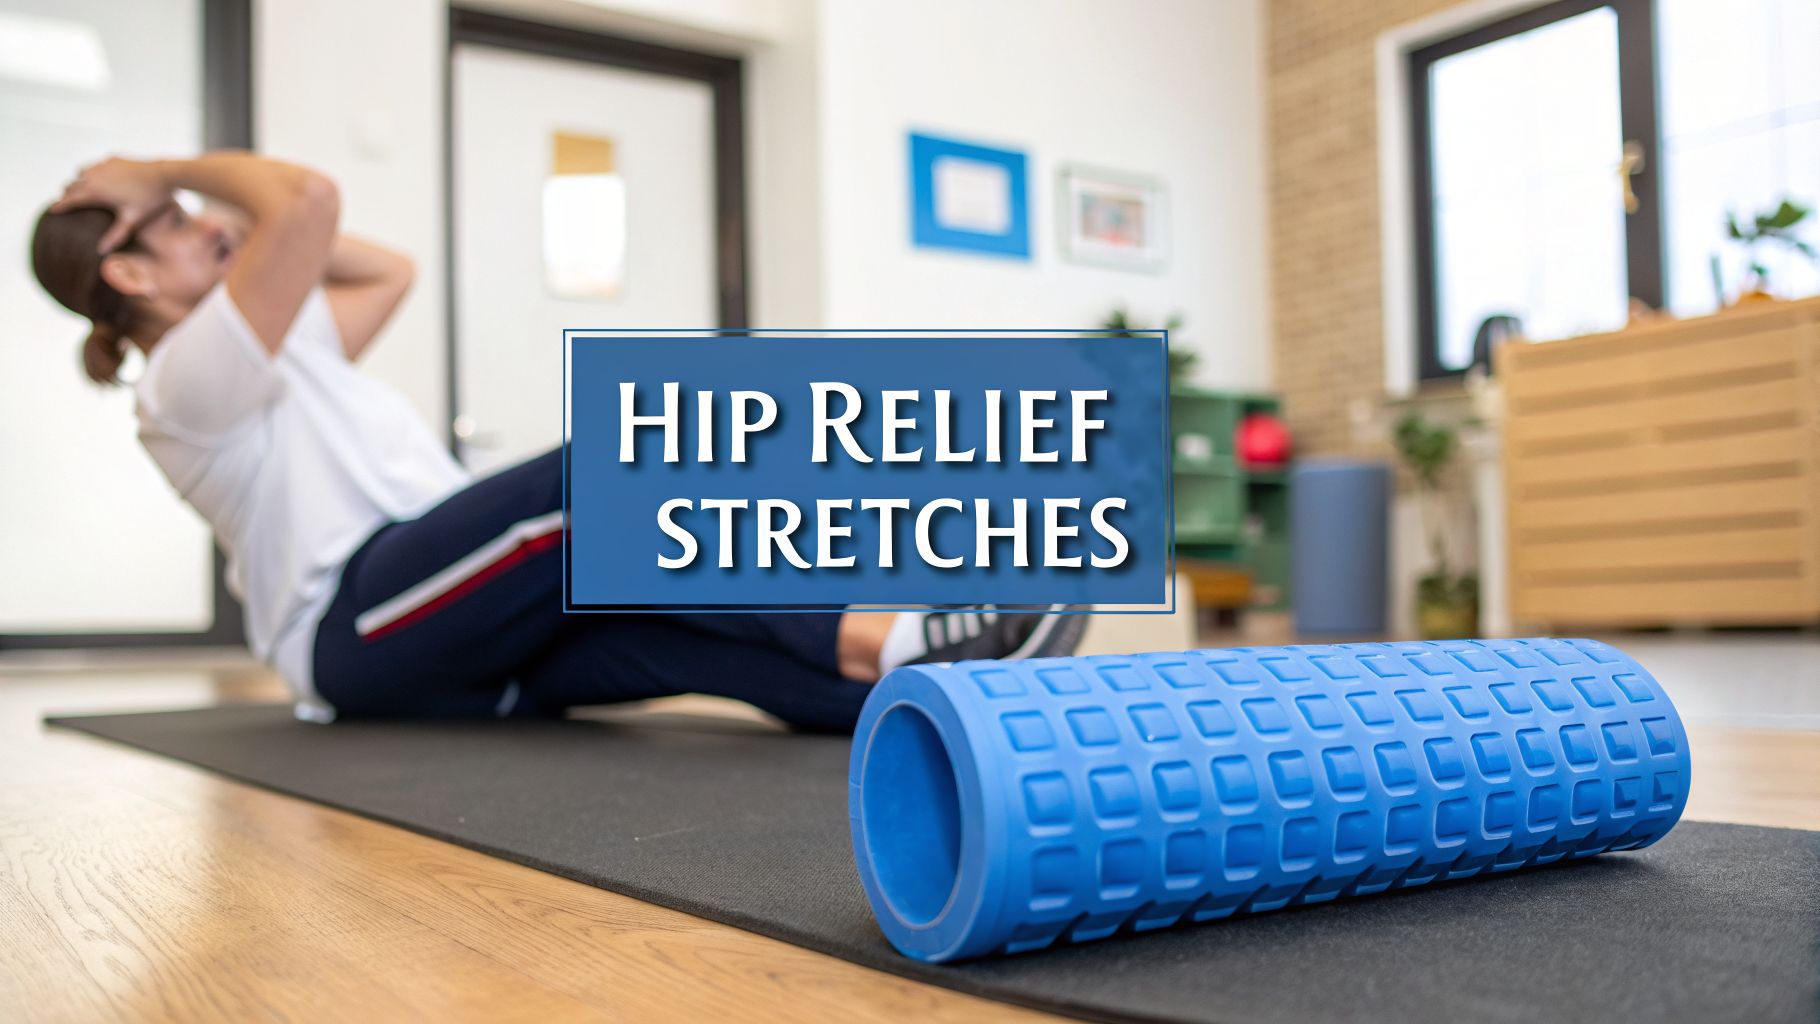
7. Hip Flexor Stretch (90/90 Supported Stretch or Kneeling Lunge Variation)
The hip flexor stretch is a critical flexibility exercise for combating lower back pain, especially the kind that stems from prolonged sitting. Your hip flexors are a group of muscles that connect your upper leg to your hip. When they become tight from sitting, they can pull your pelvis forward, increasing the arch in your lower back and compressing the spinal joints. This postural imbalance is a frequent cause of the persistent lower back pain we see in our Roscoe Village patients, from dedicated athletes to remote office workers.
By specifically targeting and lengthening these tight muscles, the hip flexor stretch helps restore proper pelvic alignment and reduce unnecessary strain on the lumbar spine. For our patients at Pure Motion Chiropractic, incorporating this stretch is often a key step in correcting postural dysfunctions that contribute to their discomfort. It is one of the best exercises for lower back pain because it directly addresses a root cause of mechanical stress.
How to Perform the Hip Flexor Stretch
Follow these steps for the kneeling lunge variation, which is highly effective:
- Starting Position: Kneel on a soft surface like a yoga mat or carpet. Step one foot forward so your front knee is bent at a 90-degree angle and directly over your ankle. Your back knee should be resting comfortably on the floor. Place your hands on your front thigh for support.
- Engage Your Core: Before you stretch, gently tuck your tailbone under and engage your abdominal muscles. This action levels your pelvis and prevents your lower back from arching, which is crucial for isolating the hip flexor.
- Initiate the Stretch: Slowly and gently shift your hips forward until you feel a comfortable stretch in the front of your back hip and thigh. You should feel the stretch in the hip of the leg that is kneeling.
- Hold and Breathe: Hold this position for 30-45 seconds, breathing deeply and consciously relaxing the muscles you are stretching. Avoid bouncing.
- Switch Sides: Carefully return to the starting position and repeat the stretch on the other side.
Key Insight: The difference between an effective hip flexor stretch and a useless one is pelvic position. Tucking your tailbone slightly before lunging forward ensures you are stretching the target muscle, not just extending your lower back.
Tips for Success and Modifications
- Pad Your Knee: Place a folded towel or cushion under your back knee for added comfort.
- Frequency: Perform this stretch on both sides 1-2 times daily, especially after long periods of sitting or as part of a cool-down routine.
- Supported 90/90 Variation: For a gentler option, lie on your back. Bring both knees up so your hips and knees are at 90-degree angles (as if sitting in a chair). Gently pull one knee toward your chest while allowing the other to remain in the 90/90 position.
- Avoid Over-Arching: Be mindful of your lower back. If you feel any pinching or discomfort there, reduce the depth of your lunge and refocus on keeping your pelvis neutral.
Tight hips are a common source of referred pain and dysfunction, and addressing them is essential for a healthy back. For a deeper look into relieving hip tension, you can explore some of the best stretches for hip pain. At Pure Motion Chiropractic, we integrate this stretch into care plans to help patients achieve lasting relief and improved mobility.
8. Plank Hold (Anterior Core Endurance and Stabilization)
The Plank Hold is an isometric exercise celebrated for its effectiveness in building deep core strength and stability. By holding a horizontal position supported by your forearms and toes, you challenge the muscles of your anterior core to resist gravity and maintain a neutral spine. This exercise is one of the best for lower back pain because it creates a protective "muscular corset" around your lumbar spine, improving its ability to handle daily loads without strain.
For our patients in Lincoln Square and across Chicago, from dedicated athletes to remote workers, the plank is a foundational movement. It teaches the body to engage the core correctly, which is essential for protecting the lower back during more dynamic activities and for maintaining proper alignment while sitting. Building this endurance is a key step in progressing from therapeutic rehabilitation to functional fitness.
How to Perform the Plank Hold
Follow these steps for proper form and maximum benefit:
- Starting Position: Begin by lying face down on the floor. Place your forearms on the mat with your elbows positioned directly under your shoulders and your hands clasped or palms flat.
- Engage and Lift: Press through your forearms and toes to lift your body off the floor. Keep your back flat and your body in a straight line from your head to your heels.
- Maintain Alignment: Actively draw your navel toward your spine and squeeze your glutes. This prevents your hips from sagging or rising too high. Your gaze should be directed at the floor, keeping your neck in line with your spine.
- Hold and Breathe: Hold this position, breathing steadily. Focus on maintaining tension throughout your core, glutes, and quads.
Key Insight: The goal of the plank is not to hold it as long as possible, but to hold it perfectly for as long as you can. When your form breaks down-your hips sag or your back arches-the exercise loses its benefit and can strain your lower back.
Tips for Success and Modifications
- Focus on Quality: Start with 15-30 second holds, concentrating entirely on perfect form. It's better to do a short, perfect plank than a long, sloppy one.
- Frequency: Aim for 2-4 sets, 3-4 times per week, with about one minute of rest between each set.
- Knee Modification: If a full plank is too challenging, perform it with your knees on the ground. This reduces the load while still allowing you to build core strength.
- Progression: Once you can comfortably hold a perfect plank for 60 seconds, you can increase the challenge with variations rather than just adding more time.
The plank is a powerful tool for building the spinal stability needed to support a healthy back and good posture. For more detailed guidance on improving your alignment, discover our strategies on how to fix poor posture. At Pure Motion Chiropractic, we integrate planks into many of our patients' care plans to build a strong foundation for lasting back pain relief.
8-Exercise Comparison for Lower Back Pain
| Exercise | Implementation complexity | Resource requirements | Expected outcomes | Ideal use cases | Key advantages |
|---|---|---|---|---|---|
| Cat-Cow Stretch (Marjaryasana-Bitilasana) | Very low — beginner-friendly, simple sequencing | None (mat recommended) | Improved spinal mobility and reduced paraspinal tension | Office breaks, warm-up, acute gentle pain relief | Gentle, breath-coordinated mobility; no equipment |
| Quadruped Bird Dog (Opposite Arm-Leg Raises) | Low–Medium — requires coordination and control | Mat; optional ankle weights/bands for progression | Enhanced core stabilization, balance, neuromuscular control | Rehab progressions, athletes, long-term back prevention | Targets deep stabilizers; scalable with low spinal load |
| Glute Bridge (Single and Double-Leg Variations) | Low — easily progressed from double to single leg | Mat; optional band/dumbbell for loading | Increased glute activation, improved hip-lumbar coordination | Sedentary populations, postpartum rehab, hip power training | Direct glute strengthening; functional hip extension; scalable |
| Prone Back Extension (Cobra/Superman) | Low–Medium — technique important to avoid overextension | Mat | Stronger spinal extensors and improved posture endurance | Counteracting flexed posture, postural rehabilitation | Direct posterior chain strengthening; posture improvement |
| Child's Pose (Balasana) | Very low — restorative and easy to modify | Mat, bolster/cushion optional | Spinal decompression, reduced muscle tension, relaxation | Recovery, cool-down, extension-dominant pain relief, stress reduction | Restorative, promotes parasympathetic activation; safe for acute phases |
| Dead Bug (Supine Transverse Abdominis Activation) | Low–Medium — requires precise motor control | Mat | Deep core (transverse abdominis) recruitment and lumbar protection | Early rehab, postpartum core rebuilding, acute stabilization | Exceptionally safe for acute symptoms; isolates deep core; highly scalable |
| Hip Flexor Stretch (90/90 or Kneeling Lunge) | Low — basic flexibility technique, attention to pelvic position | Minimal space; pad or bolster optional | Reduced anterior pelvic tilt, improved hip extension and posture | Office workers, athletes, posture correction routines | Targets hip-lumbar chain; easy daily integration; cost-effective |
| Plank Hold (Anterior Core Endurance) | Low–Medium — form-dependent, fatigue-sensitive | Mat | Improved anterior core endurance and sustained spinal stability | Core conditioning, progression from rehab to sport, posture support | Scalable isometric endurance; functional for daily activities |
Find Lasting Relief with Your Local Chicago Chiropractor
The exercises detailed in this guide, from the gentle spinal mobility of the Cat-Cow to the core-stabilizing challenge of the Plank, represent a powerful toolkit for managing and preventing lower back pain. Mastering these foundational movements is a significant first step toward reclaiming control over your body and your daily comfort.
However, understanding how to do these exercises is only part of the solution. For lasting relief, you need to understand why your back hurts in the first place. Your pain is unique, shaped by your daily habits, your work environment, and your personal history. A movement that helps one person might aggravate another’s condition. This is why professional, personalized guidance is so important.
What is Chiropractic Care and How Does It Help?
Chiropractic care is a healthcare profession focused on diagnosing and treating neuromuscular disorders, with an emphasis on treatment through manual adjustment and/or manipulation of the spine. At Pure Motion Chiropractic, we don't just "crack backs." We provide comprehensive care that includes:
- Thorough Diagnosis: We identify the specific cause of your pain, whether it's from a sports injury, an auto accident, poor posture, or chronic strain.
- Spinal Adjustments: Gentle, precise adjustments restore proper motion to joints, which can relieve pain, reduce nerve irritation, and improve your body's overall function.
- Personalized Treatment Plans: We create a holistic care plan that combines adjustments with targeted exercises, posture correction, and lifestyle advice to ensure long-term wellness.
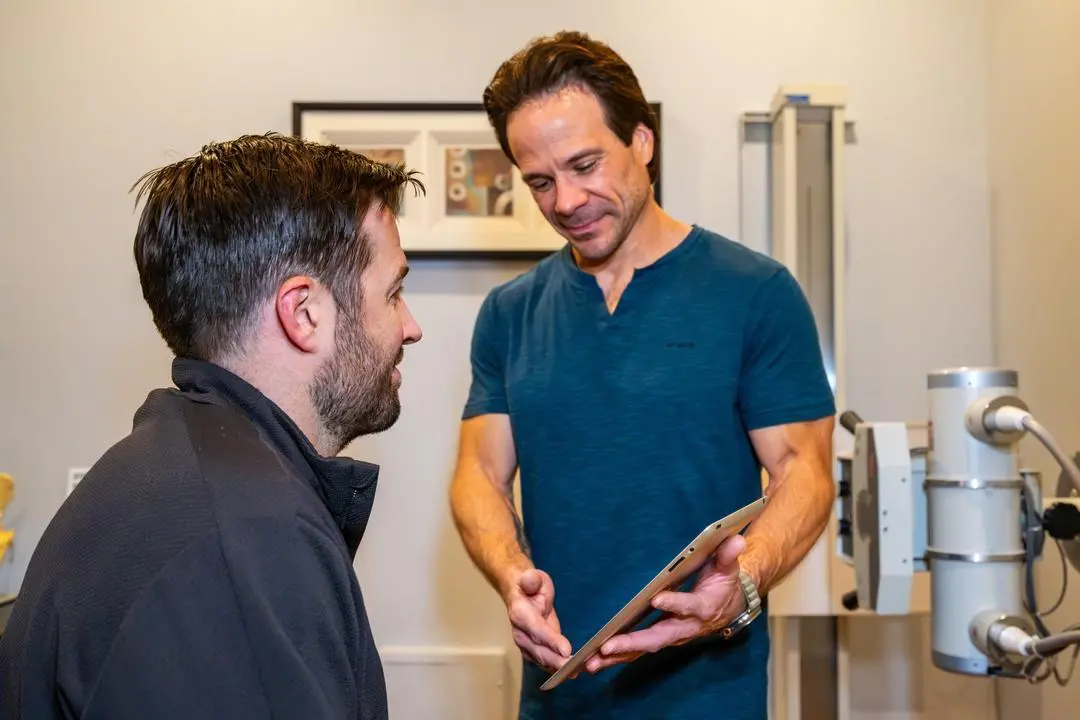
What to Expect at Pure Motion Chiropractic
From your first visit, you’ll find our approach is patient-centered and reassuring. We begin with a detailed consultation to understand your health concerns and goals. Following a comprehensive examination, we will explain our findings in clear, simple terms and propose a personalized treatment plan. Our goal is to empower you with the knowledge and tools you need to not only get out of pain but to build a stronger, more resilient body for the future. We proudly serve our community in Roscoe Village and surrounding Chicago neighborhoods like Lakeview and Logan Square.
By integrating the right exercises with expert chiropractic care, you are not just temporarily masking symptoms. You are actively correcting the underlying functional problems that caused the pain in the first place. This integrated strategy helps you build a healthier back that is better equipped to handle the demands of life.
Don't let lower back pain dictate your life. At Pure Motion Chiropractic, we specialize in creating personalized recovery plans that combine expert chiropractic care with the most effective therapeutic exercises for your specific condition. Schedule your consultation today at our Roscoe Village clinic and take the definitive step toward lasting relief and confident movement.